




Why You Need It
Many users upload full-resolution images (4000+ pixels) that are never displayed at that size. Auto resizing reduces file sizes while maintaining display quality.
How to Enable this Feature
Step 1: Navigate to Settings
Click into the Classic Monks plugin settings, then the Performance tab, Media Enhancements subtab.
Step 2: Enable the Feature
Toggle on the feature.
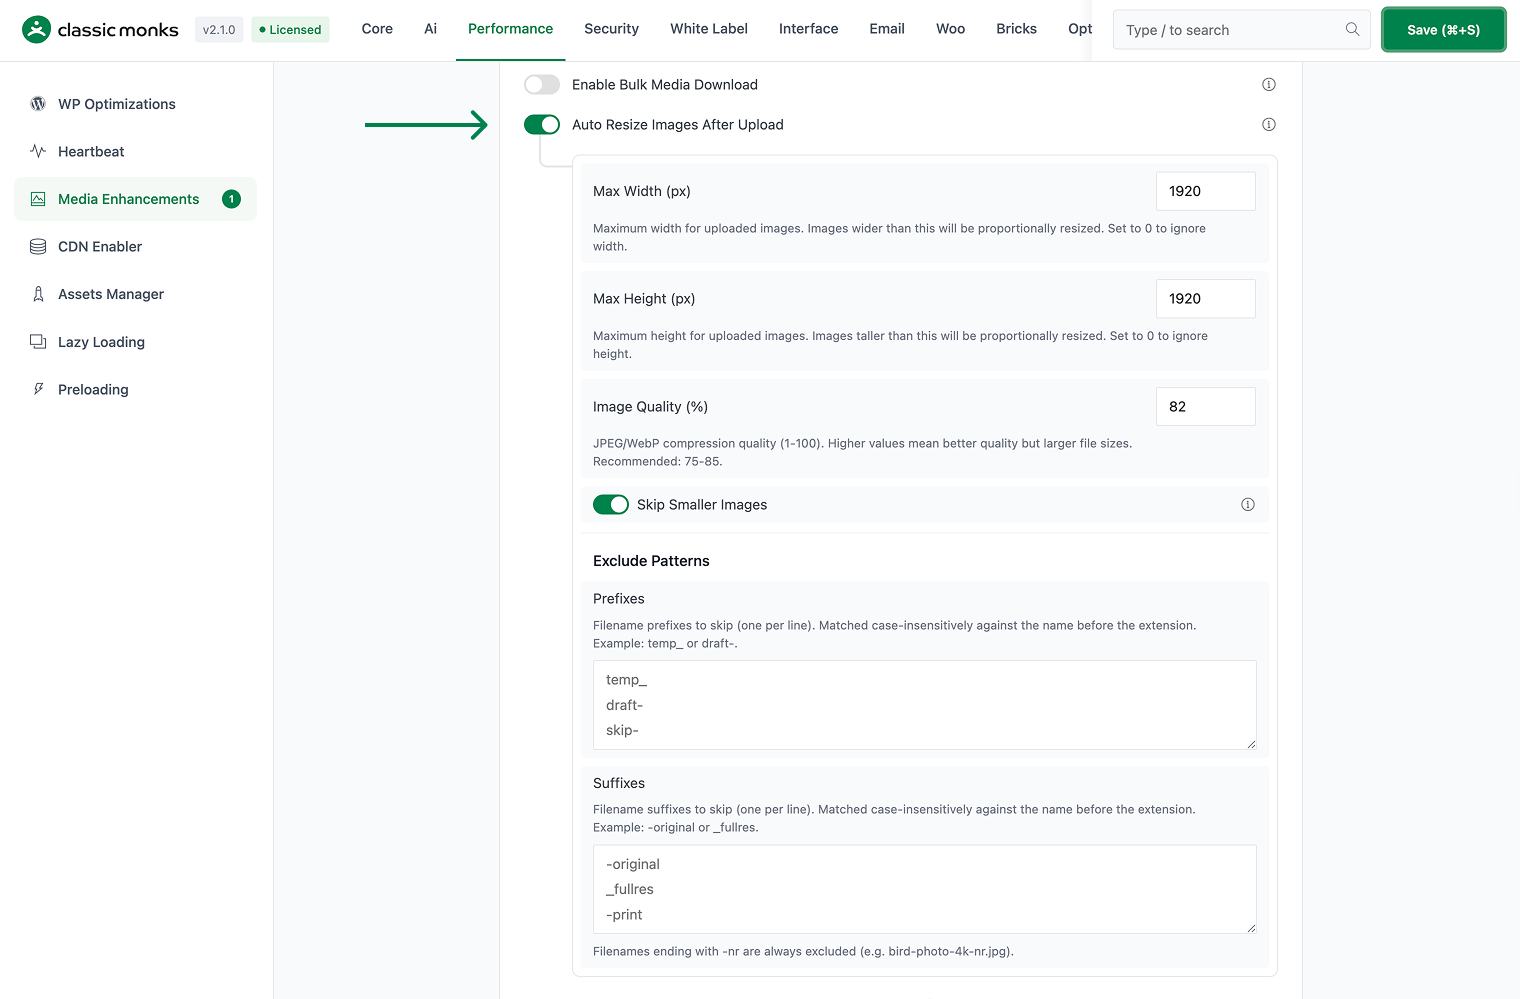
Step 3: Save and Test
Click Save Changes. Test on the frontend.
Common Use Cases
Mobile-first sites
Mobile devices don’t need 4000px images. Auto resizing to 2000px max saves significant disk space.
Large media libraries
Sites with thousands of images benefit from auto resizing to prevent disk bloat.
Before you enable this feature
- Test on staging first to verify no conflicts with your theme or other plugins
- Check dependent plugins that may rely on the functionality being modified
- Monitor after enabling for any unexpected behavior on the frontend
How it works under the feature
This feature runs during the WordPress initialization phase. When enabled, its PHP code registers hooks that modify specific WordPress behaviors. The changes are non-destructive and reversible.
No database schema changes are made. The feature state is stored as a boolean value in the wp_options table and can be toggled at any time from the admin settings.

Add your first comment to this post