




What Is the Quick Inspect feature?
The default WordPress Media Library flow for editing a file is:
- Click the file in the Media Library
- Navigate to the “Edit Media” page (a full-page load)
- Edit the file details
- Click “Update”
- Navigate back to the Media Library
This is slow and disruptive. The Quick Inspect feature opens the edit page in a modal window (overlay) instead, so you can:
- Click the “Quick Inspect” link on a file
- A modal window opens with the edit form
- Edit the file details
- Click “Update”
- Close the modal (you’re back in the Media Library)
Why You Need It
For sites with many media files that need frequent editing:
- Alt text maintenance: Quick alt text editing for SEO
- Caption updates: Quick caption changes
- File details: Quick access to file size, dimensions, URL
- Bulk editing: Edit multiple files quickly without navigating back and forth
The Quick Inspect feature saves time for media-heavy workflows.
How to Use Quick Inspect in WordPress
Step 1: Navigate to Settings
Click into the Classic Monks plugin settings in your WordPress dashboard.
Step 2: Go to the Interface Tab
Click on the Interface menu, then click the Folders subtab.
Step 3: Enable Quick Inspect
Scroll to Quick Inspect and toggle on.
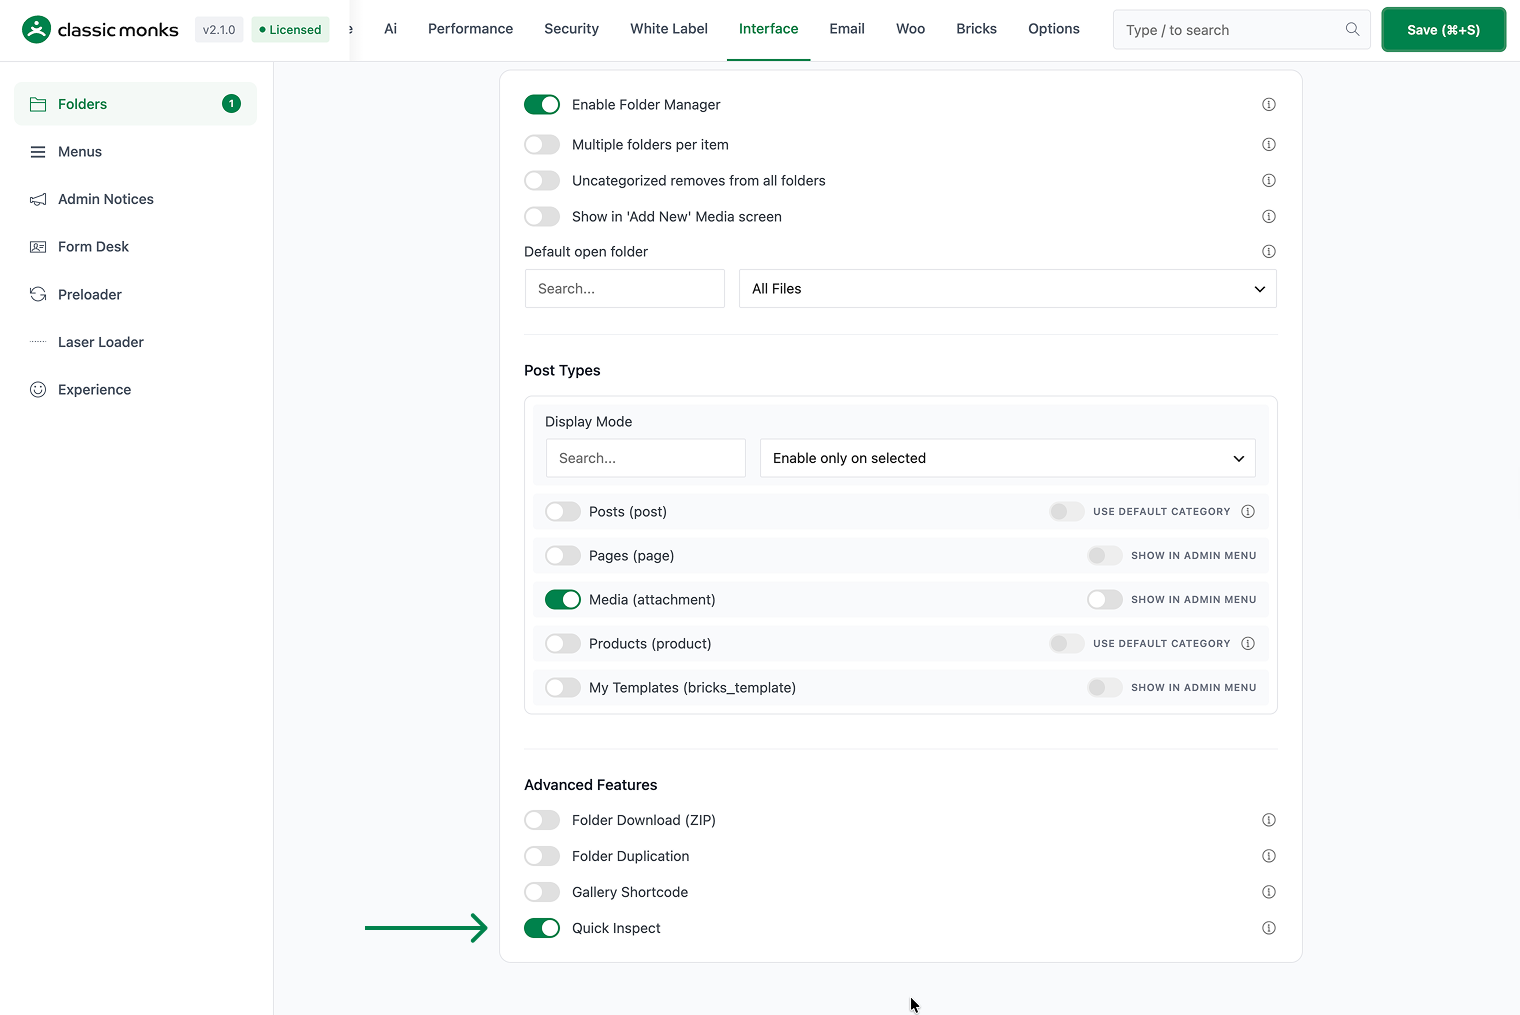
Step 4: Save Changes
Click Save Changes.
Step 5: Test
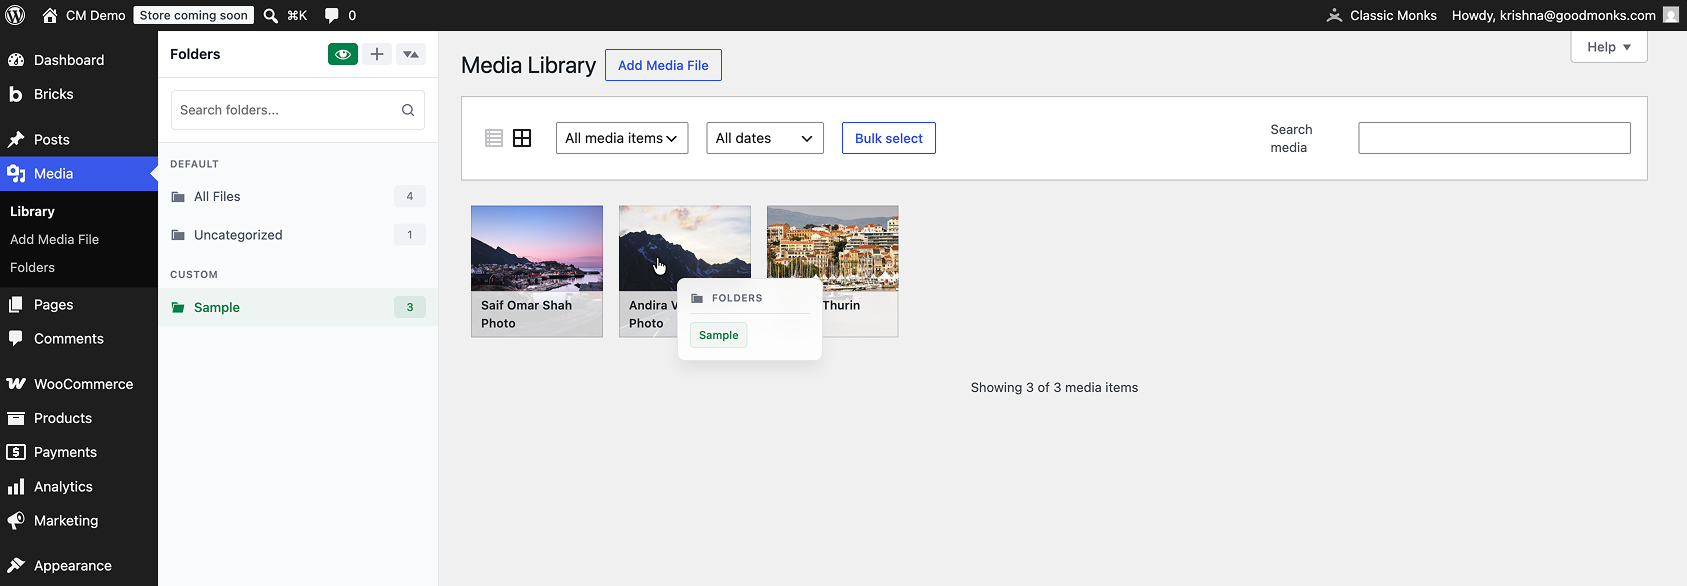
Go to the Media Library. Hover over a file. A “Quick Inspect” link should appear. Click it. A modal window should open with the edit form.
Configuration Options
| Option | Description | Default |
|---|---|---|
| Quick Inspect | Master toggle. | Off |
No nested options.
What Gets Affected
- The Media Library: a “Quick Inspect” link appears on each file
- The edit flow: opens in a modal instead of navigating away
- The media editing: same edit form, but in a modal
- The workflow: faster editing of file details
What Does NOT Get Affected
- The default WordPress edit flow: still available via the full edit link
- The file itself: unchanged
- The file URLs: unchanged
- The Media Library display: unchanged

Add your first comment to this post