




What Does the Feature Do?
By default, the WooCommerce checkout order review shows the product name and quantity but no image. The Show Product Images in Checkout feature adds a product thumbnail beside each product name in the checkout, giving customers a visual confirmation of what they are buying.
The thumbnail follows your image size and style settings, so you can match it to your design.
Why You Need It
A visual confirmation at checkout reduces doubt and mistakes:
- Customers see the exact item they are buying, not just text
- They can catch a wrong product or variant before completing the order
- It strengthens confidence at the most sensitive step of the purchase
- On mobile, a small thumbnail helps verify the order quickly
How to Show Product Images in the WooCommerce Checkout
Step 1: Enable the Feature
- In WordPress admin, open Classic Monks > WooCommerce.
- Open the Checkout settings area.
- Toggle on Show Product Images in Checkout. The nested options expand below the toggle.
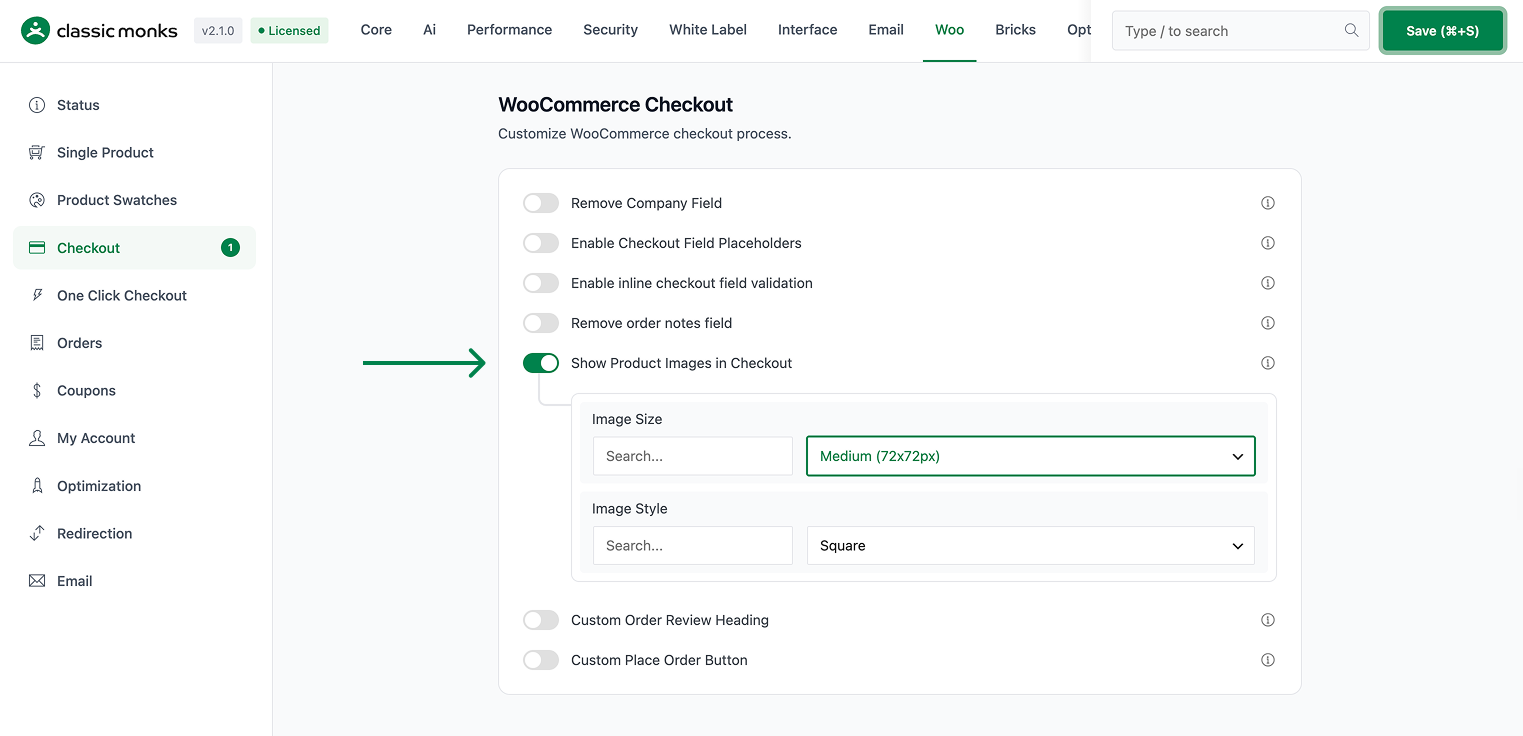
Step 2: Choose the Image Size
Use Image Size to select a preset:
- Small, Medium (default), or Large
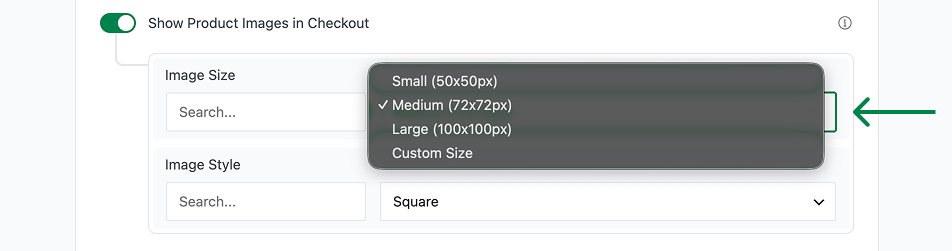
Or choose Custom and set Custom Width (px) and Custom Height (px). Defaults for custom width and height are 72px each.
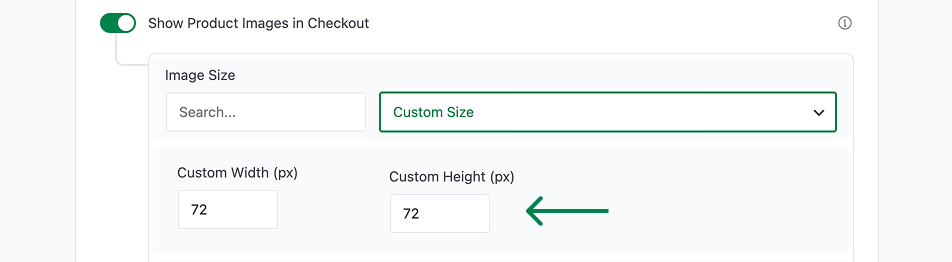
Step 3: Choose the Image Style
Use Image Style to set the thumbnail shape:
- Square (default)
- Rounded
- Circle
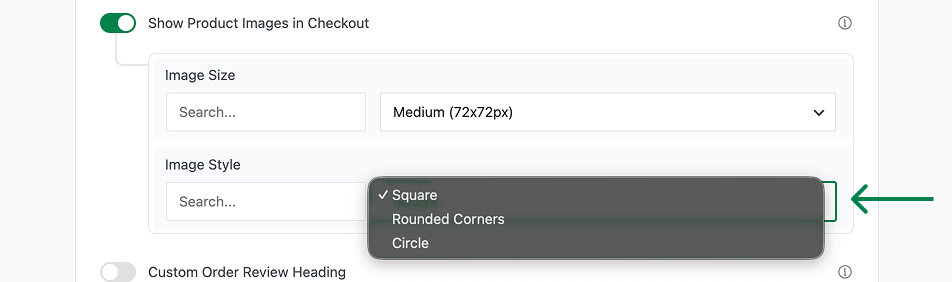
Step 4: Save and Test
Click Save Changes. Add a product to the cart and open the checkout. Confirm the thumbnail appears beside each product name with the size and style you chose.
Configuration Options
| Option | Behavior | Default |
|---|---|---|
| Show Product Images in Checkout | Master toggle. | Off |
| Image Size | Small, Medium, Large, or Custom. | Medium |
| Custom Width (px) | Custom thumbnail width (shown when Image Size is Custom). | 72 |
| Custom Height (px) | Custom thumbnail height (shown when Image Size is Custom). | 72 |
| Image Style | Square, Rounded, or Circle. | Square |
What Gets Affected
- The checkout order review: product thumbnails appear next to product names
- The cart item display in the checkout, per your size and style settings
What Does NOT Get Affected
- The product’s actual image data: WooCommerce continues to manage product images normally
- The cart page: this feature targets the checkout display
- Order totals and totals: only the product name content changes
- Admin order details: unaffected by the front-end checkout image
How the Thumbnail Is Added
The feature hooks into WooCommerce’s cart item name filter, so the thumbnail is prepended to the product name in the checkout. The image is rendered using the product’s image and styled according to your size and style settings, with inline dimensions applied for custom sizes.

Add your first comment to this post